Cabin #8 Sod Roof!
/There is nothing quite as satisfying as putting a real (not tarp) roof over a log cabin. By the time our roof was finished, we had spent 3 years worrying about our logs rotting and the roof gave us a sense of relief- finally our work was safe. We decided on a traditional sod and pole roof because (1) it makes good use of materials that are locally available and (2) using logs allowed us to stay with the theme of non-dimensional lumber, it would have been hard to fit a dimensional roof onto a non-dimensional cabin. (3) Growing raspberries on the roof!
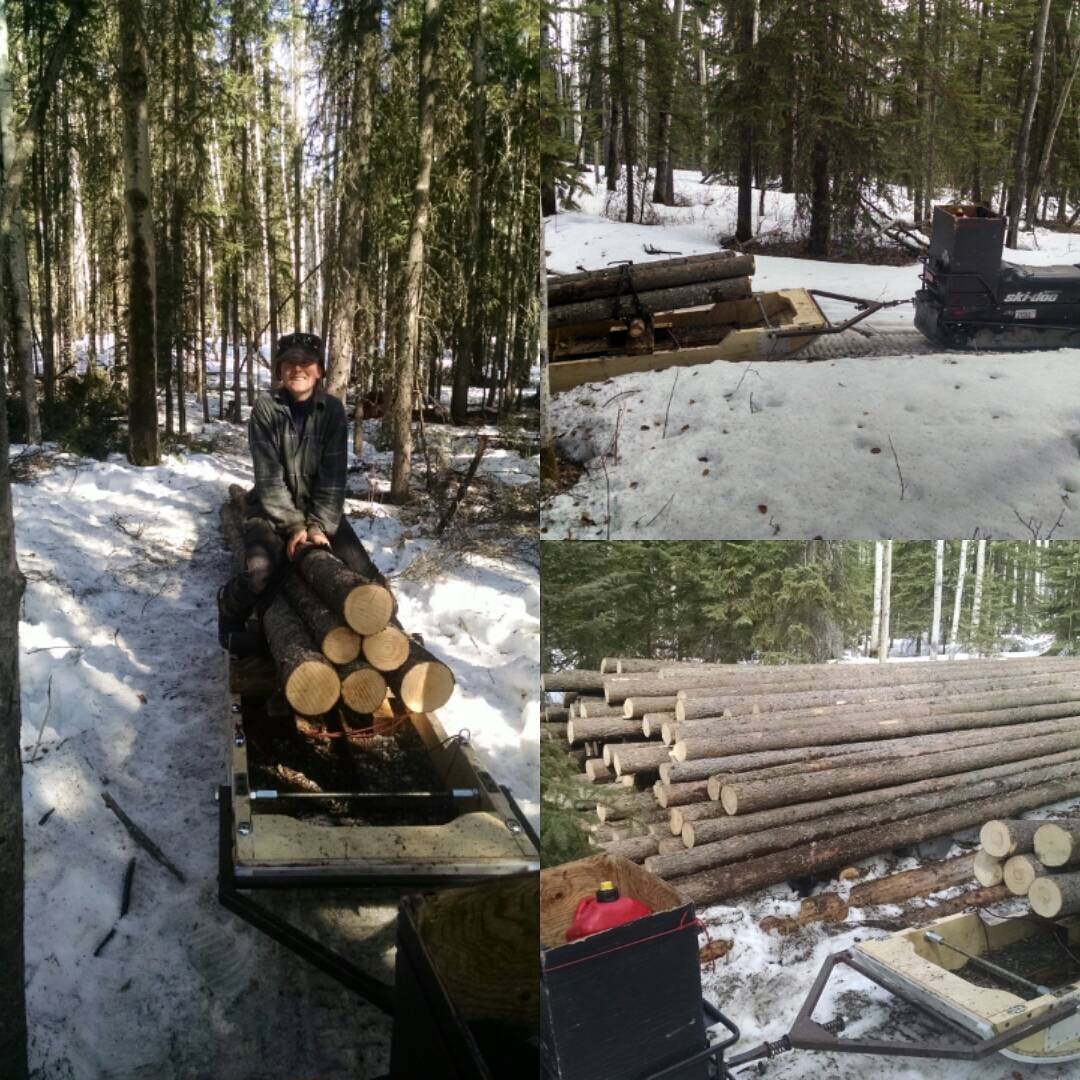
Step 1: Poles (yes, more poles).
We harvested small white spruce poles for the roof from a nice stand about 1/3 mile above the cabin. We hauled them to the building site in the winter and peeled them in the spring and put them in a rack (below) to dry vertically in the sun for a year. By the next fall fall they were dry but slightly discolored so we began round 2 of peeling.

Just when Jenna thought the peeling was over, David decided that we also needed some very thin poles to put in gaps. It was summer at this point, so we got an additional 140 or so small poles by boat and hauled them up the hill, peeled them, and let them dry on the south face of the cabin. Even these well-cared for poles did end up molding some and we didn’t end up needing many of them for the cabin roof. Luckily, the dried and peeled spruce pole is the 2”x 4” of the woods and we used this stash for a variety of projects including: compost bin, stool legs, drying racks, railings, steps, poling poles for boats, ice chisel poles, seedling rack, chin up bar, we still have some years later!

Step 2: Ridgepole and Purlins
While Jenna was peeling, David got the big ridge pole (center) and purlins (sides) up. This was the last “big lift” for the gin pole. These 5 logs were the largest and heaviest and they had to get lifted up the highest. David was able to pull them up with the gin pole while Jenna controlled the other end of the log from the ground to prevent it from swinging. We screwed in blocks on the top log to help keep the log from swinging as well. Our friend John Manthei has excellent timing, he showed up just a we were preparing to lift the ridgepole, the heaviest log of the project, and he helped pull it up standing on the first floor while David was on the second, both of them pulling simultaneously. In case his spouse is reading this, John was NOT on the roof.

We decided on a fairly shallow roof to (1) maximize head space on the second floor (2) support the dirt on the roof, and (3) be able to hang out on our roof! We don’t get a large amount of snow in Alaska’s interior so we didn’t need to do a super steep, slippery roof for snow to fall off of. We will likely have to shovel it some, but it is really fun being up there. We wanted a substantial overhang on the cabin to protect the logs and foundation from water and to be able to store things. We didn’t go in with specific sizes or angles in mind, we just worked with what we had. My favorite piece of advice we got came from John, I asked him “what do you think of the overhang, is it big enough?” and he replied “Jenna, its the overhang that you’ve got.”

Step 3: Fitting the Poles
We used the gin pole to lift 2-4 roof poles at a time to the roof. David fit them together with an axe and chainsaw and timberlocked them into place. Many, many timberlocks.


Step 4: Vapor Barriers and Foam and Vapor Barriers and Sprayfoam
We built the rest of the roof like a layer cake.
Spruce Poles, with sprayfoam over the walls to make a seal.
Brown paper to pad the vapor barrier.
Vapor barrier- 6 mil poly sheeting, 1 layer with seams taped.
Foam- We used 3 layers (6 inches total) of R-Tech foam insulation. We used contact cement to glue the layers together so they wouldn’t blow off the roof.
Pit Liner- we got heavy duty reinforced vinyl material designed to line ponds from Alaska Tent and Tarp. Its the same stuff we used on our original cabin out here and its holding up great.
Sod


Step 5: Sod, the workout
When we dug out and leveled the cabin site, we saved a big pile of the sod, the top about 6 inches of the soil with most of the roots in it. We made the gin pole a new accessory, a plywood box and used it to lift loads of heavy sod onto the roof.
Once it was on the roof we put the sod into a sled and sledded it to its destination, then dumping the sled. We started with the perimeter to secure the final vapor barrier and keep it from blowing or moving. Then we concentrated on the area around the chimney to protect from sparks.

Of all of the steps of the cabin, this was probably the most physically involved, Jenna nicknamed this step “crossfit” because it involved digging up sod, hauling sod to the box, lifting the box, climbing the ladder, transferring sod to sled, sledding then dumping. There was a lot of musical aid going on. We ended up covering most of the roof before the ground froze and finished the following spring. The roof held heat remarkably well its first winter which featured a healthy amount of -40 temperatures. By mid-summer, fireweed was blooming on the roof and it proved a great place for a picnic.

